This is a walk through for the SOC287 alert on LetsDefend. To begin we navigate to the practice tab and then select monitoring. For me it was one of the top alerts and was “High” so I decided to choose this one. If you are searching for it then you will need to look for eventID “263”.
Create the case
After assigning ourselves this alert we can select “create case” we can begin to dig in and start gathering information. We select “start playbook” and are presented with this window…
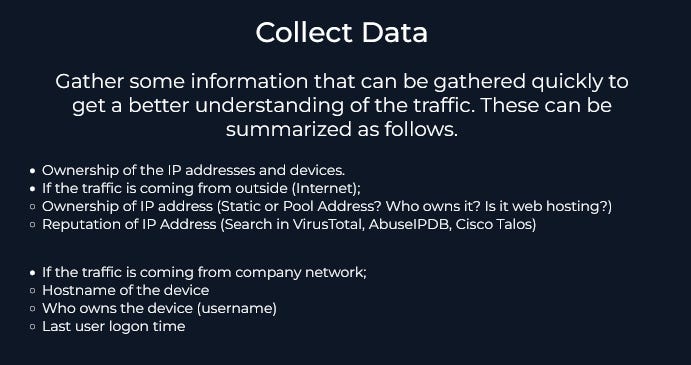
So as the directions say when looking at this investigation we need to focus on collecting data that may offer us clues to what exactly took place, who was involved, what machines were involved, and possibly what attack vector (if any) were used to continue on with our investigation.
Evidence Gathering
If we look at the initial information given in the alert we can save some key data that will be useful later on.
With any investigation the firs thing to do is start compiling notes in order to reflect back on them later on. So I always have notepad open or sometimes I will use a great program called Notion.io. In this case I copied all of this to my notepad but will note the source IP, the hostname, destination IP, the requested url, and the request specifically.
Before moving on with the playbook I decided it would be a good idea to do a bit more research on the specific CVE mentioned in the Rule and Alert Trigger: CVE-2024-24919. A quick Google search offers us some insight…
Beginning the playbook
Now that we have properly prepared ourselves to move along with the investigation we can move on to the next page of our playbook
So as stated before we have already begun to collect data and we can look in our system at the tools provided to start looking into activity related to the gateway and the suspicious source IP. We can note here that the source IP of 203.160.68.12 is most likely and external IP as it is a public IP. The best first step here would be to search it on VirusTotal as mentioned.
After searching VirusTotal we can see that this IP is classified as malicious by 3 sources. The IP seems to be owned by China Unicom Global and is traced to Hong Kong. So this is definitely a sign this is a threat actor.
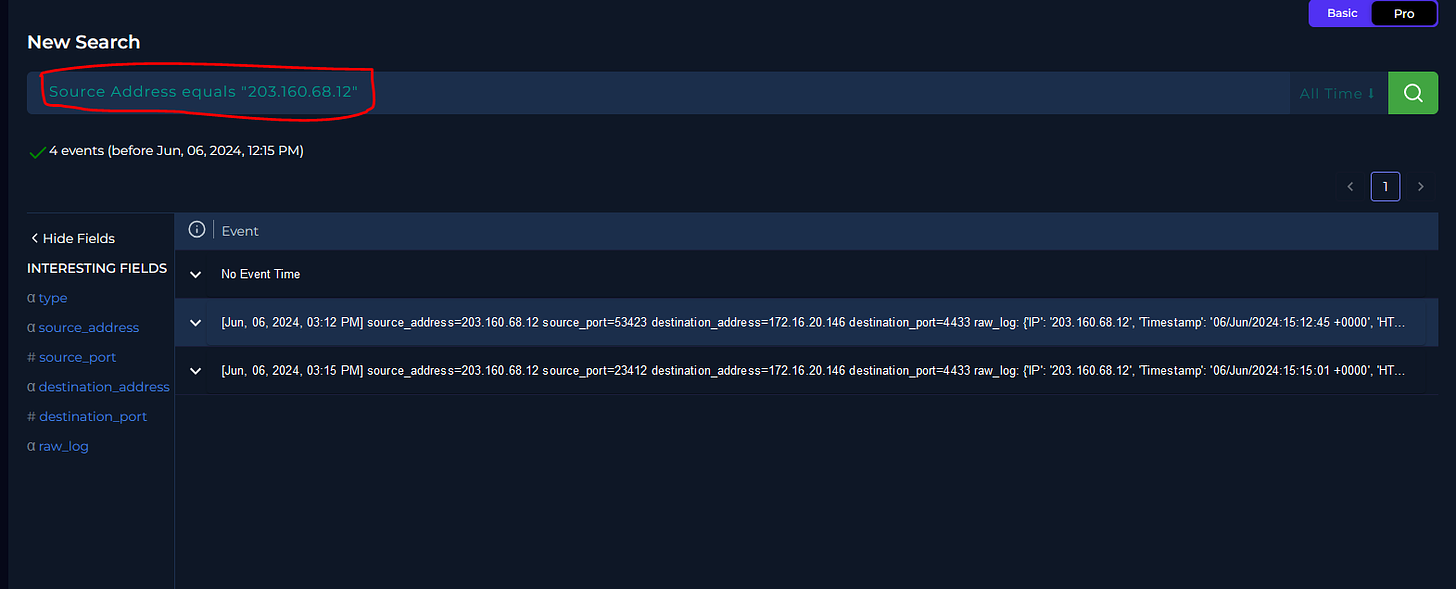
Since we now know that the source IP is malicious we need to look into the traffic associated with this IP address. We can move over to the Log Management tab and search for logs associated with this IP address.
We find there are 2 entries and both of them have our destination IP address so it looks like we are on the right track. I’ll go ahead and expand the first one to see that data can be collected and added to our notes.
So the data here can be saved but for the sake of this alert the important information is the URL, the Host, and the Request. Now we will pay particularly close attention to the Request as this looks very suspicious. We have what looks like a directory traversal that contains the word “shell” and is pointed to the /etc/passwd file. This is not good. We definitely need to keep investigating.
Lets expand the other entry to see what we have there
So here we can see the URL is just a /. This may suggest the attacker has gained access to the root directory. If so, this would be very bad.
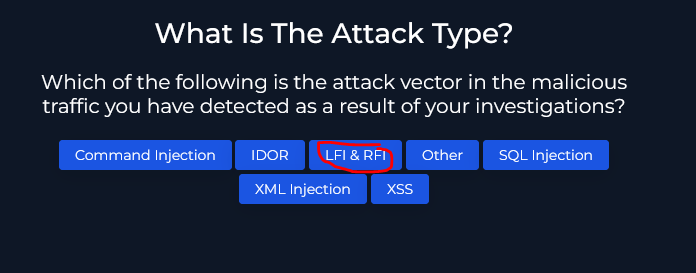
Continuing on with the playbook we now have to decide if the traffic is malicious. To find out exactly what kind activity was going on we can look into the provided web attacks documentation.
To save time I’m just going to jump down to Detecting RFI & LFI Attacks but it is important to go through each of these to see how these attacks would look within a log.
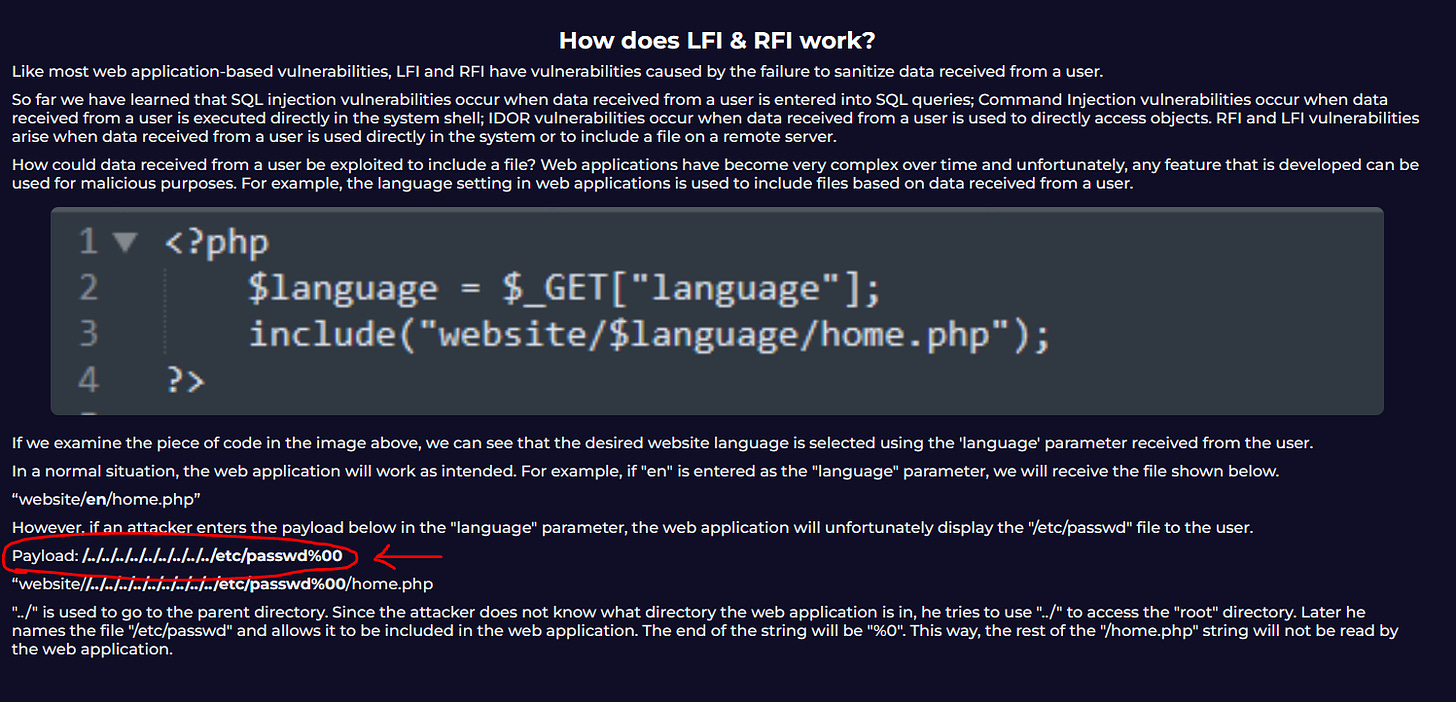
So as we go through the documentation on RFI and LFI attacks we can see here that the format for the attack matches the request we found earlier in the log output. We can now say for certain that this traffic was malicious.
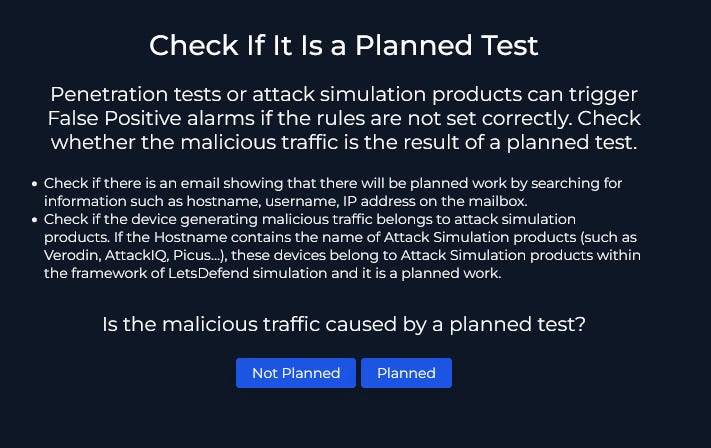
We are starting to uncover more information about this attack but before we get ahead of ourselves and move into full lock-down mode we need to consider if this was a planned operation as part of a penetration test or simulated attack? This is very common to take place in an enterprise environment.
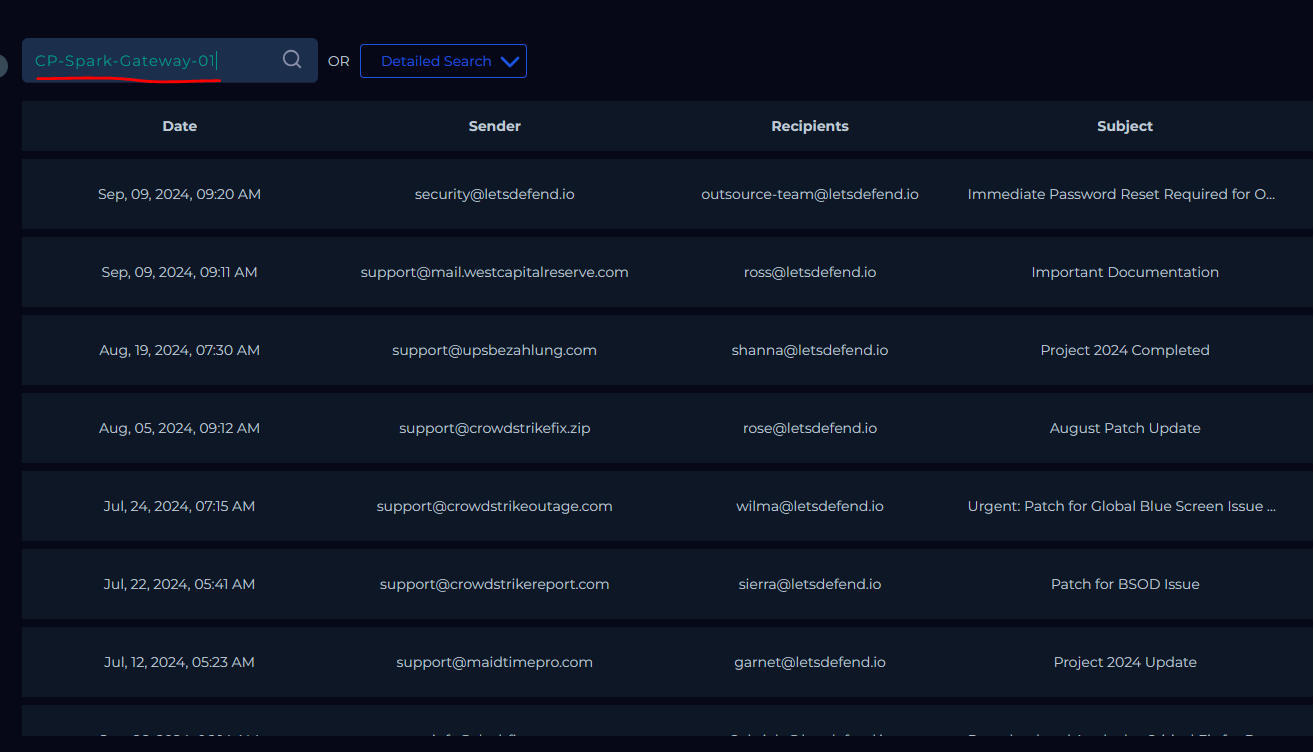
To verify if this was planned or not we have some suggestions given to us to look at emails and also look at the device name. A quick look at our device name (CP-Spark-Gateway-01) we can conclude it is not part of the attack simulation team so we will investigate the emails for anything mentioning a test related to the gateway.
We have nothing returned when searching through emails so it is probably safe to say that this was not planned.
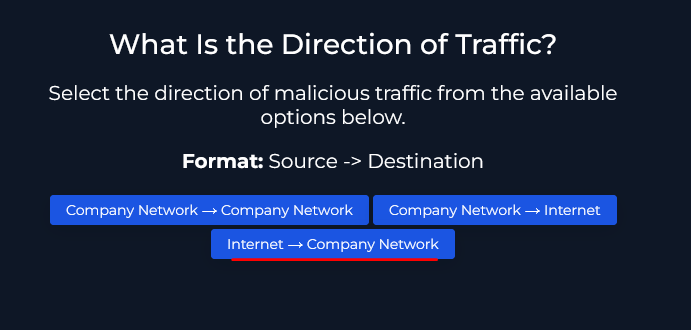
As discussed earlier this source IP is a public IP meaning it is coming from Internet and going to the company network.
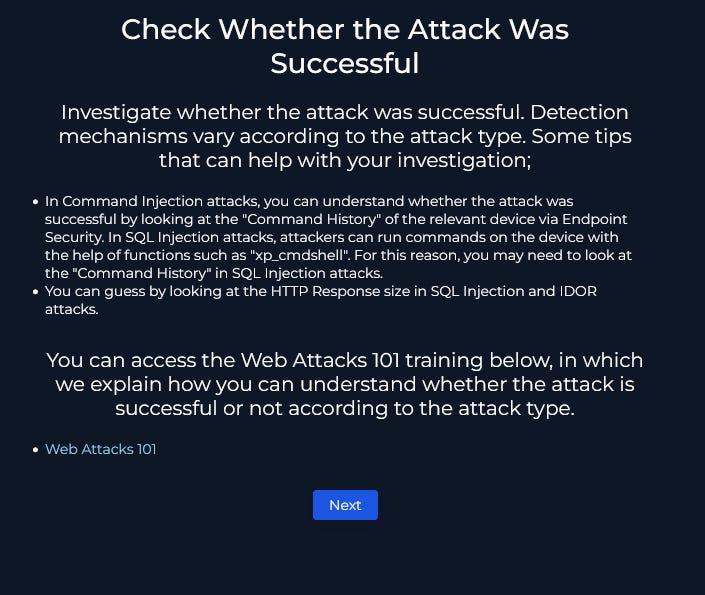
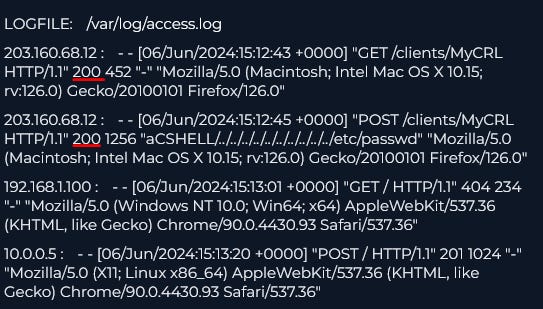
To find out if the attack was successful we can look at some of the data from the log filtering for our destination IP address (172.16.20.146)
So we can see the the response code of 200 here signifying a successful connection, therefore the attacker was successful.
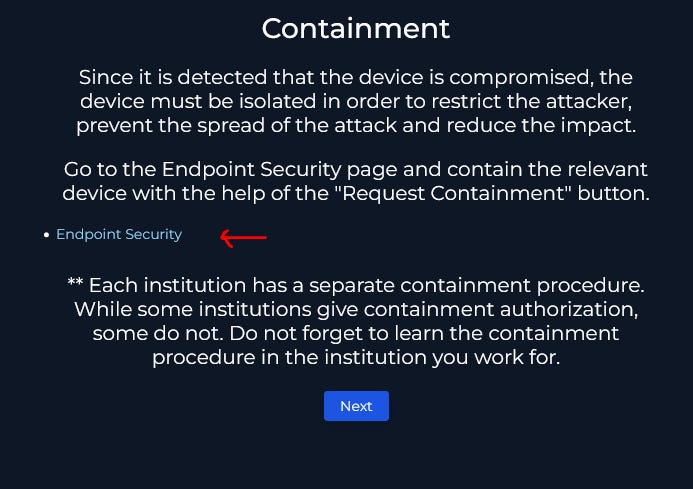
Now that we know for sure the attack was malicious and successful we need to isolate this device from the rest of the network in order to prevent any lateral movement by the attacker. Following the link to endpoint security we can contain the device.
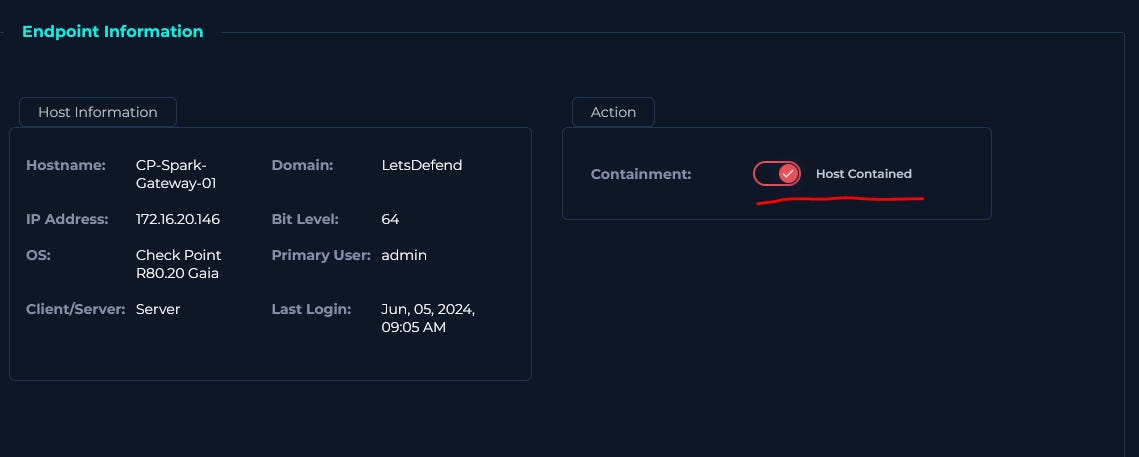
We search for the hostname (or you can search the destination IP) and select it to bring up the device details.
Under the Action box switch the toggle over to contain the host.
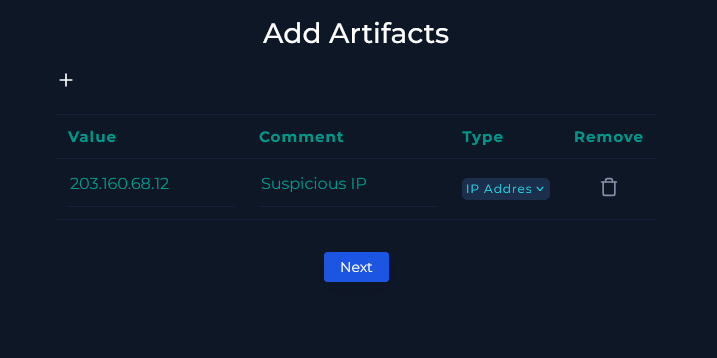
Now that the device is isolated and the immediate threat is contained we can add in any important information we have collected. Here I simply put in the suspicious IP address we observed and we could also add in the URL request method used by the attacker but we will add this in later in the notes.
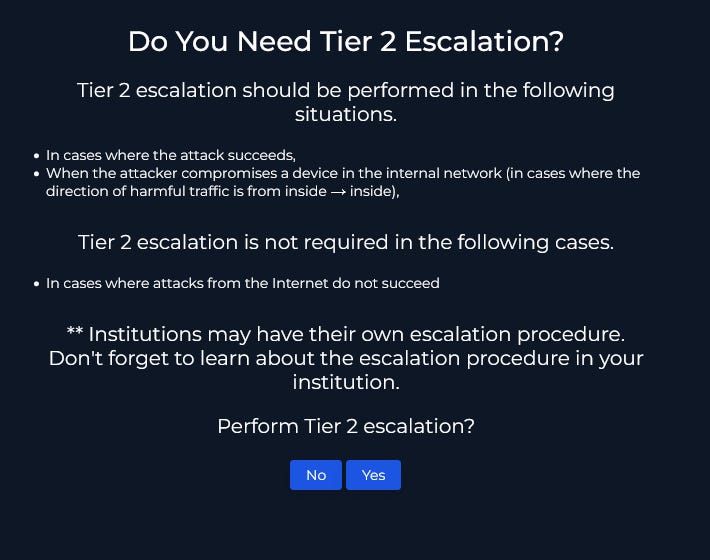
Since the attack was successful and the attacker compromised a device gateway on the internal network, we definitely want to escalate to Tier 2 so they can do some further investigation into the threat actor and possibly find other vectors in the attack surface they may have attempted to exploit. In the next steps we will leave some detailed notes for the Tier 2 Analyst so they have a place to continue on the investigation from.
So here as mentioned we are passing along what he have witnessed so the Tier 2 Analyst can do their job which will include a further deep dive into the threat actor. TTPs (Tactics, Techniques, and Protocols) are important to note as they are often a blueprint for threat actors, acting like a signature and can offer insight for incident responders and threat hunters.
And with that we have finished the play book. We can hit continue and on the next screen we can close out the case. Great Job!!
Important Take Aways
The first step to remember in an investigation is to take meticulous notes. Also you need to be thorough.
It wasn’t the case in this situation but we could easily have been dealing with a simulation or a penetration test. Sounding an alarm when there is no need can be just as disruptive as discounting a true positive attack.
Finally research is your friend. Use all the resources available to you. There are plenty of tools available as well to facilitate an investigation. Here we used VirusTotal to quickly find out that the suspicious IP was indeed malicious for example.
Conclusion
Thanks for following along and hopefully this has shed some light on the investigation. Feel free to check out one of my other blog posts on some other interesting aspects of cyber security, especially my Hacker Group Series. Thanks again for stopping by!


